Material Design To Do List Tutorial
by Dan Marcoux
List
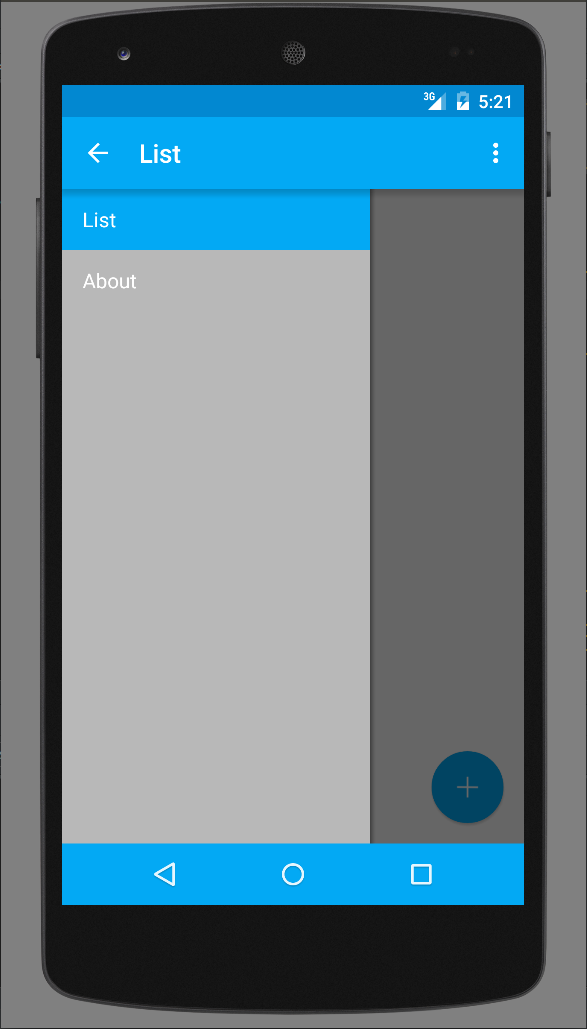
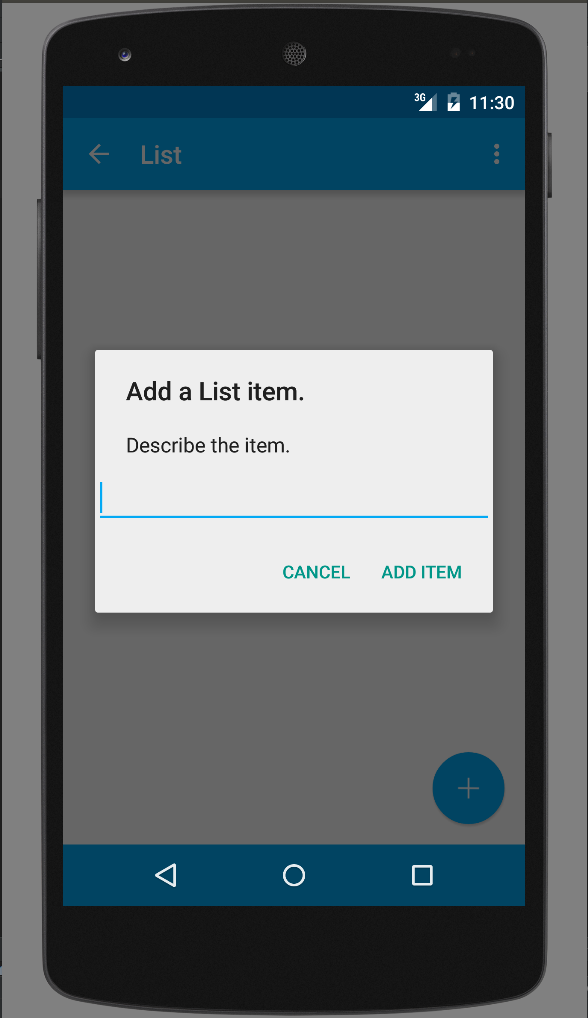
The action bar or floating action button will launch an editable text fragment.
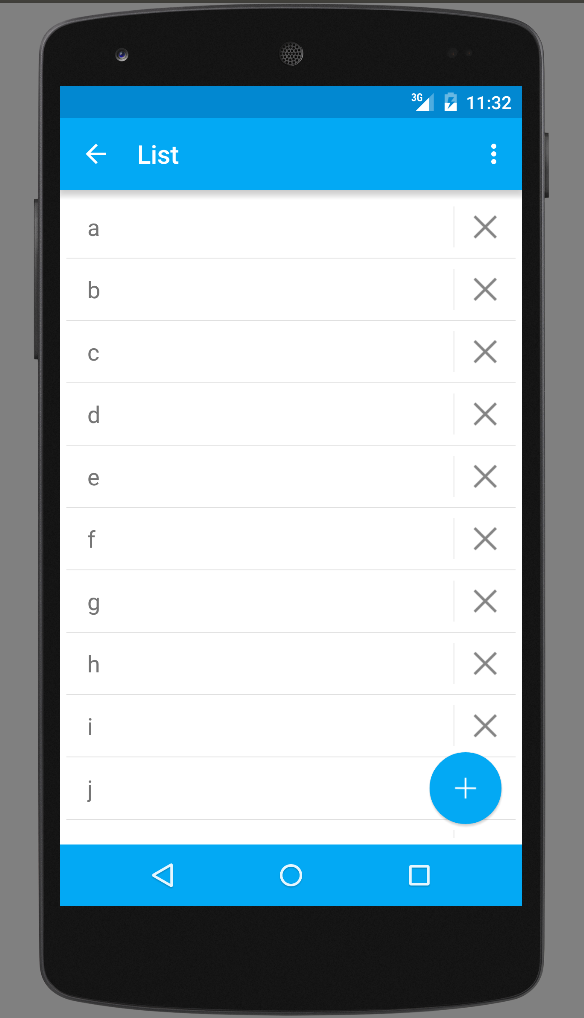
The to do list automatically enters a scrollview when inflated.
--Additionally a swipe will delete a list item!
--Pressing the delete button will also delete items with the same name.
What do I need to know before I begin?
1. How to setup and run Android Studio.
- If you cannot setup and run Android Studio, visit The Google Developer Page to get started.
2. How to debug your code in the case something becomes deprecated.
- If you cannot debug your code, StackOverflow is a great place to get started.
Features.
1. Navigation Drawer
- If you need help with Navigation Drawers, check out This blog
2. Floating Action Button
- If you need help with Floating Action Buttons, check out This Website
3. Material Themes and Animations
- If you need help with Material Themes, check out The Material Design Page
4. Swipe to Delete
- If you need help with Swipe to Delete, check out This fantastic github page
5. WebView
6. Action Bar
Let's Do This!
0. Download the zip file or fork my repository and open the about section of the List.
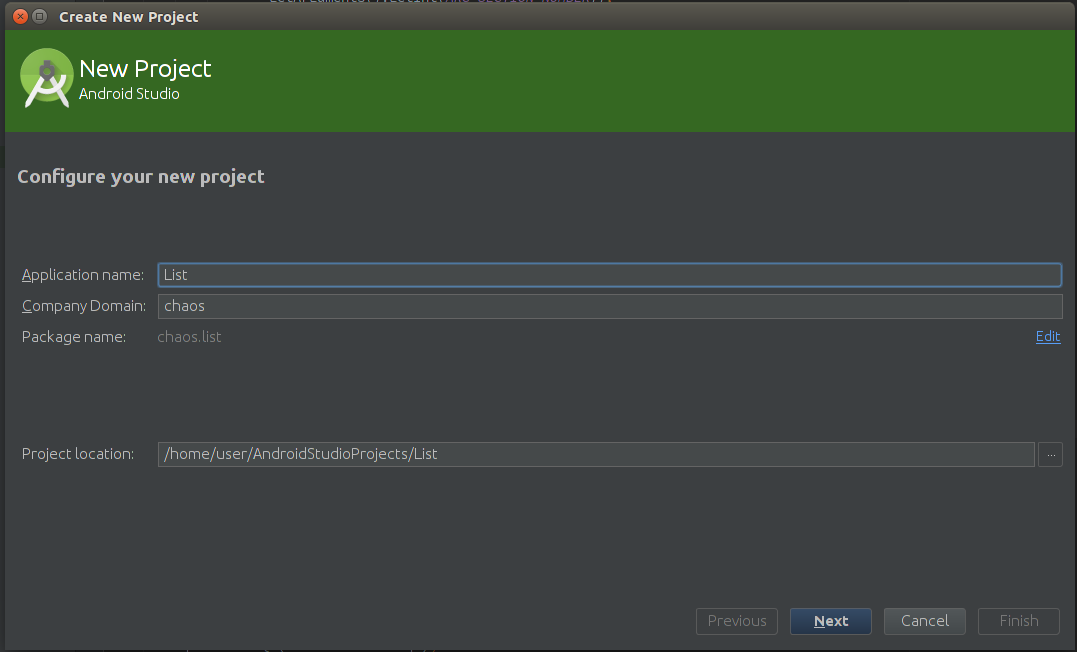
1. Start by creating a new Project. Be sure to choose the newest minimum SDK value.
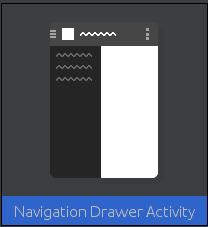
2. Select Navigation Drawer Activity when prompted.
3. Create the following objects within your main activity.
4. Create a new java class named TodoListSQLHelper and copy the following code.
5. Add A list of strings to your onCreate method that will be stored within our List Database to our main activity and add a custom adapter class to our onCreate to add data to our ListView.
6. Create a Class named MyCustomAdapter to handle posting data to ListView.
7. Add the above code to your onCreate method of your main activity to implement the dismiss on swipe features to the listview.
8. Create a new layout resource for your list items named due.xml. At this point Android Studio will throw an error within your XML file because you do not have the image resource for the remove button associated with our list. Fear not however, you can create your own or simply download this entire source code from github/fork a brotha! Additionally, you may receive more missing resource errors in the creation of this project and these can be solved in the same fashion.
9. Add ListView and ImageButton to onCreate method of main activity.
10. Add the following code to the onCreate method of your main activity. Set the on touch listener within the listview to detect our flings (or swipes). Create an on click listener for our floating action button. Update our List onCreate()
11. Modify your main activities xml file container fragment to include the listview and action button.
12. Add dimensions for the floating action button's position on the screen and size/elevation.Add the incredible SwipeDismissListViewTouchListener class found here.
13. Add an update and onDelete button click method to your onCreate to handle updates to the database during a fling/onDelete/onAdd event.
14. Create a resource directory named anim-v21 and an xml file named button_elevation.xml to use android lollipop animation on fab click.
15. Add the following xml file to your drawable folder and name it fab_shape. This will create the Material Design FAB.
16. Create a new drawable-v21 directory and add oval_ripple.xml for buttonClick animation.
17. At this point, assuming you included the add and remove drawables in your mipmap folder, your application should run without any problems using the support colors provided by androids theme. Additionally, all the sections will display the same information. We will fix these two issues now.
18. First, create a colors.xml resource file within your values.
19. Next, modify your styles.xml as shown.
20. Create a new directory named values-v21 and add styles.xml resource file as shown. Your application should now use default Material Theme colors.
21. Now add the following code to your main activities onNavDrawerItemSelected method so your navigation drawer will launch a new intent when section 2 is clicked.
22. Modify onSectionAttached in main activity.
23. Add an about class that displays a webview.
24. In your android manifest, add the about activity and permissions to access the internet. Create a string value resource for the label.
25. Create about.xml layout and include webview.
26. Create a menu resource for your activity named menu_about.xml.
27. Modify your strings.
28. Run your program and your should receive an error within your navDrawer class, just delete the line inserting section 3, as we deleted it in our strings and app.
29. Update your ActionBars onClick method in your main activity.
30. Update your main menu.
31. Update your action_settings string to say Add.
32. Run your application and delete the line in your navDrawer class that throws an error.
33. The last step is to modify your About class to navigate to the website of your choice.
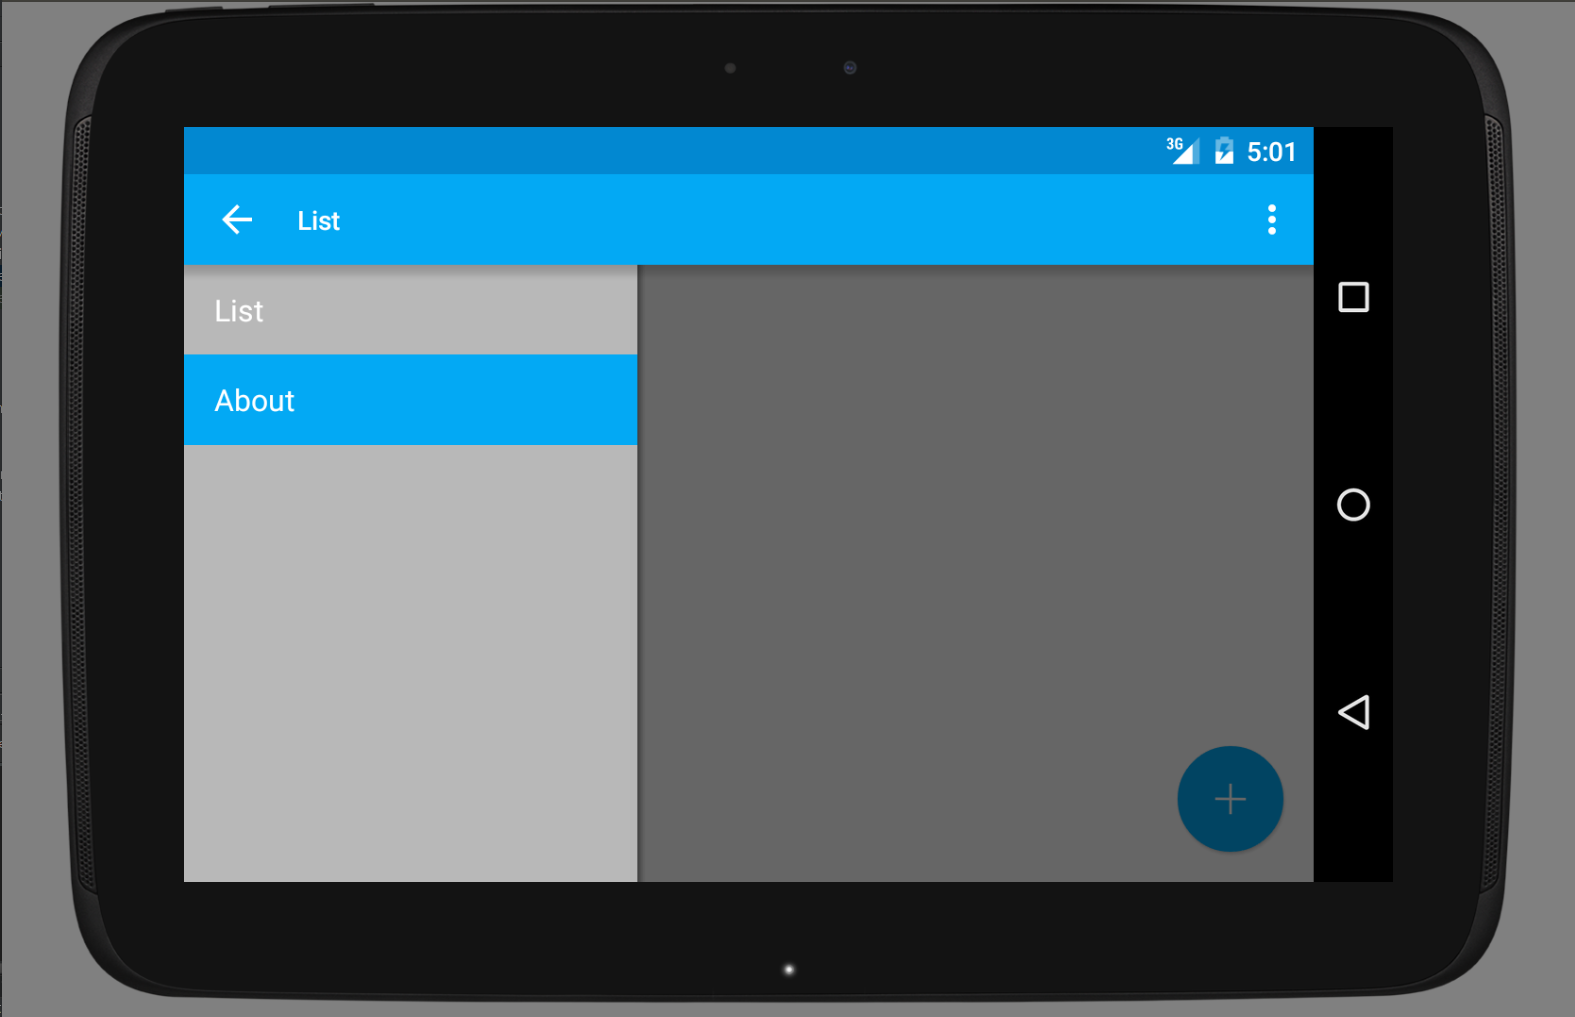
Now re-run your application. Your screen should look like the one below.
Your application is now completely responsive, and backwards compatible!
Phone:
Tablet:
Television:
